Behind the Scenes: Building Colorful Object Composites With a Macro Lens
This image is part of a series that began with a creative brief for Unsplash+: create clean, minimal stock photography with a modern flat lay aesthetic. Not the classic rustic setup with linen textures and vintage props —this needed to feel fresh, contemporary, and design-forward, with the freedom to explore angles beyond the usual straight top-down view.
That single phrase modern flat lay sent me down an exciting visual path. I started researching bold compositions, playful color palettes, and strong directional shadows that could make flat lays feel more dynamic and editorial. I built a mood board, pulled inspiration from ad campaigns and Pinterest layouts, and then ran into a challenge:to capture the detail I wanted, I needed my macro lens —but the space I was working in didn’t allow for it.
Then I had an idea: what if I built my own modular flat lay world —one object at a time?
The Setup: Patience, Paper, and a Tripod
This whole thing started with a paper backdrop, a tripod, and a 2-meter high camera setup pointing straight down. I used my 105mm macro lens, shooting at f/11, 1/160s, ISO 200, mounted solidly so I wouldn’t accidentally nudge my perfectly framed layout. (It only takes one little bump to ruin your day in a composite project —trust me.)
For lighting, I went with a Godox AD600, bare bulb at 1/32 power. Why bare bulb? I wanted hard shadows —something dramatic enough for contrast, but also clean and simple. The shadows in this image play just as important a role as the objects themselves —they give the image weight and depth. And, conveniently, they also make Photoshop selection way easier, but more on that later.
One Shot at a Time
The image above is actually made of 14 separate photos. That’s right —14 objects, each shot individually in the exact same lighting and camera position. I placed one object, photographed it, moved it out, placed the next, repeated. Slow? Yes. Meditative? Also yes.
The hardest part? Getting the shadows just right. The Photoshop Object Selection Tool does a nice job —but only if you help it out. If the shadow is too soft or too faint, Photoshop acts like it’s never seen a shadow before in its life. So I spent some time experimenting with strobe height and angle until I got clean, punchy shadows that made selection easy later.
Side Note: Surely you can edit the shadows without the Object Selection Tool? Yes, but time is money!
Editing Magic (and Mild Repetition)
Once I had all of the individual images, I edited each image the same exact way using Capture One: slight boost to brightness, tweaks to saturation, subtle color adjustments to keep everything cohesive. It's amazing how even similar colored objects can drift apart visually if you don’t rein them in with consistent grading.
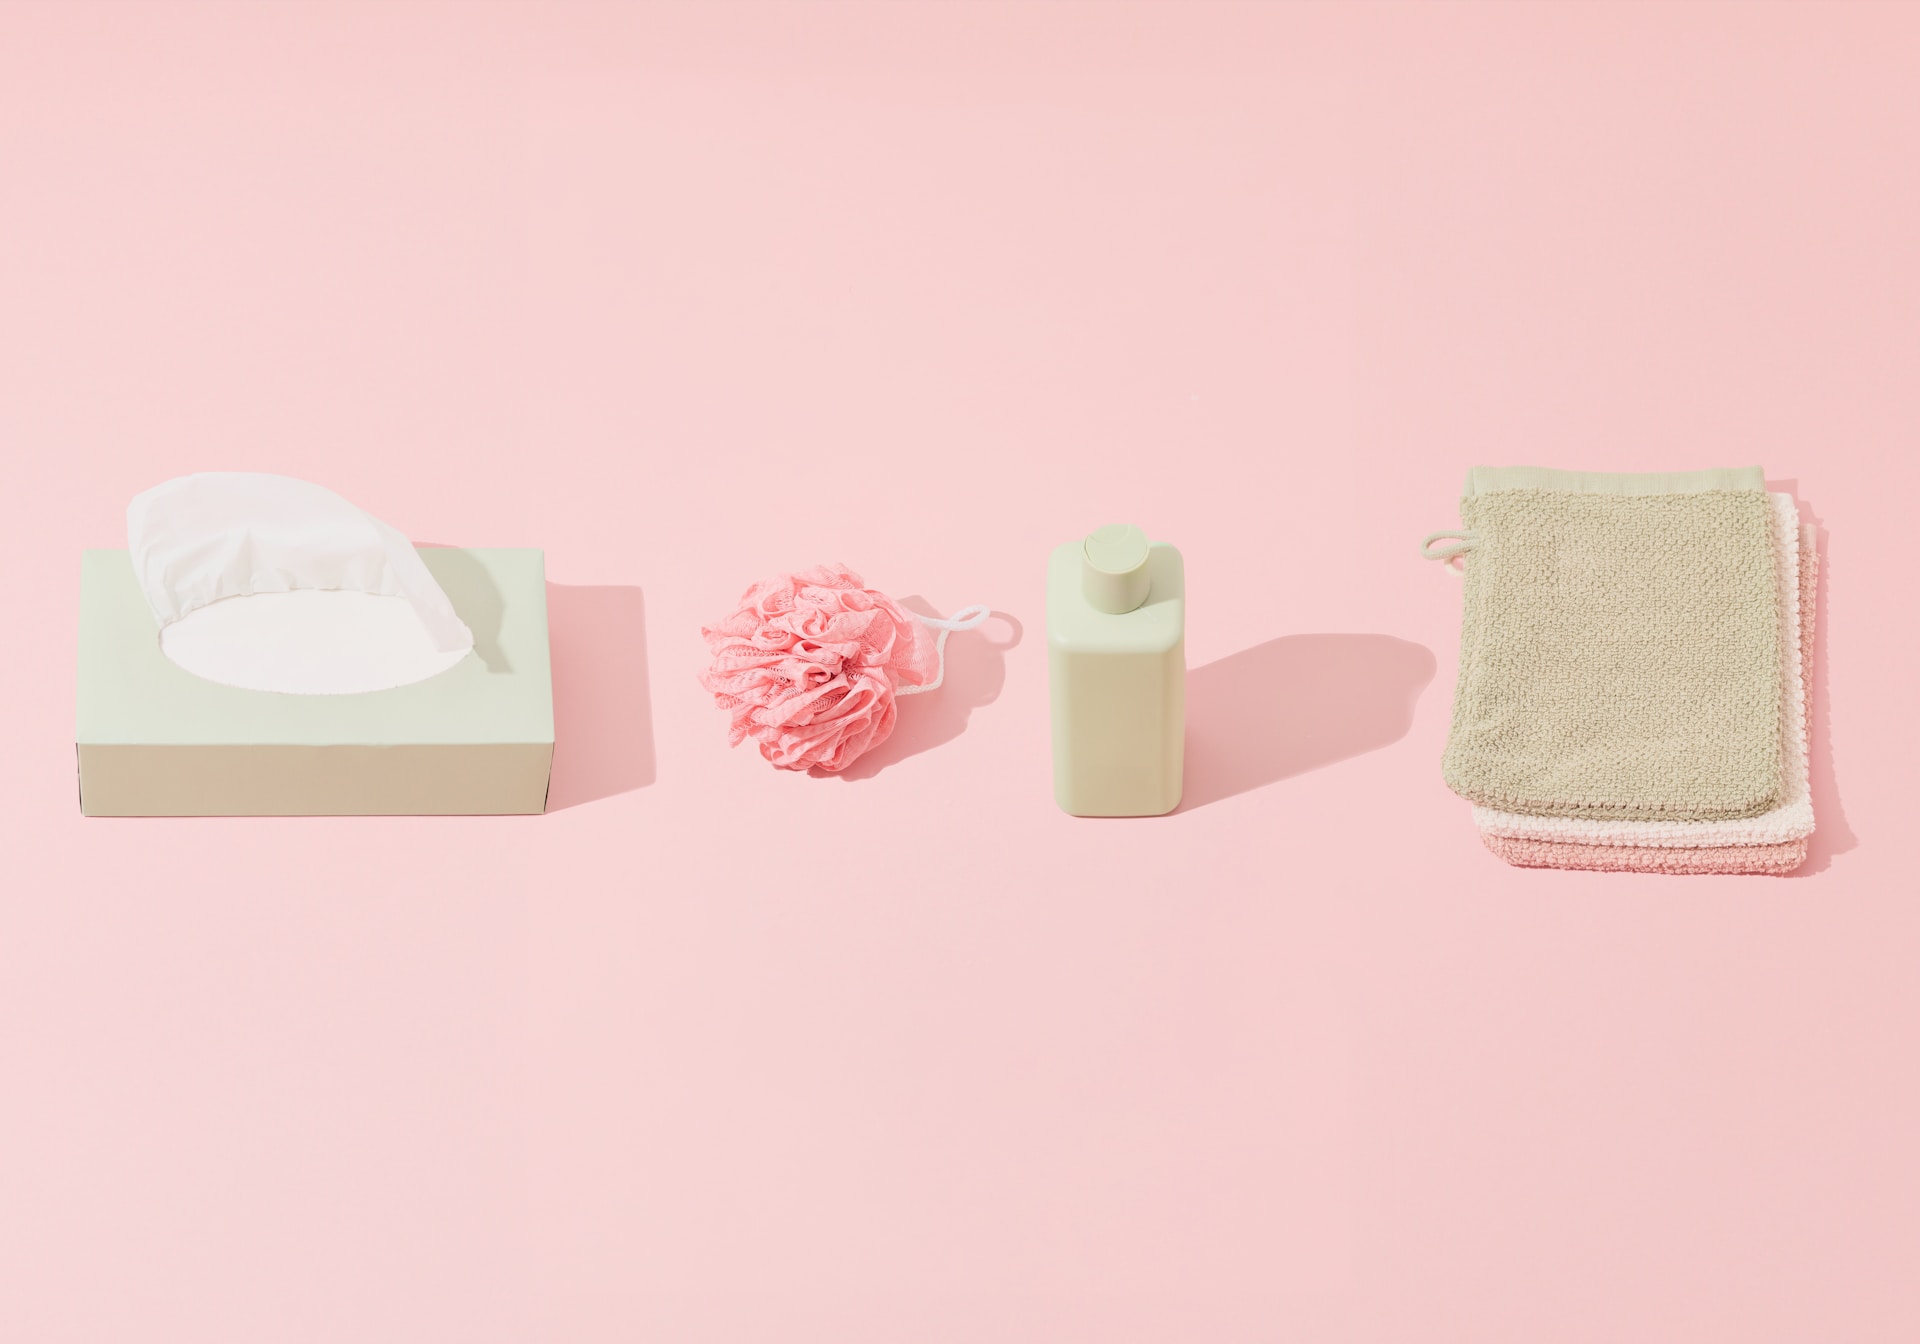
After the editing was completed it was time for compositing in Photoshop. I used the Object Selection Tool to isolate each object along with its shadow —because without the shadow, objects start to look floaty or fake. Every object got its own layer in the master file. No, I didn't name each layer 😉
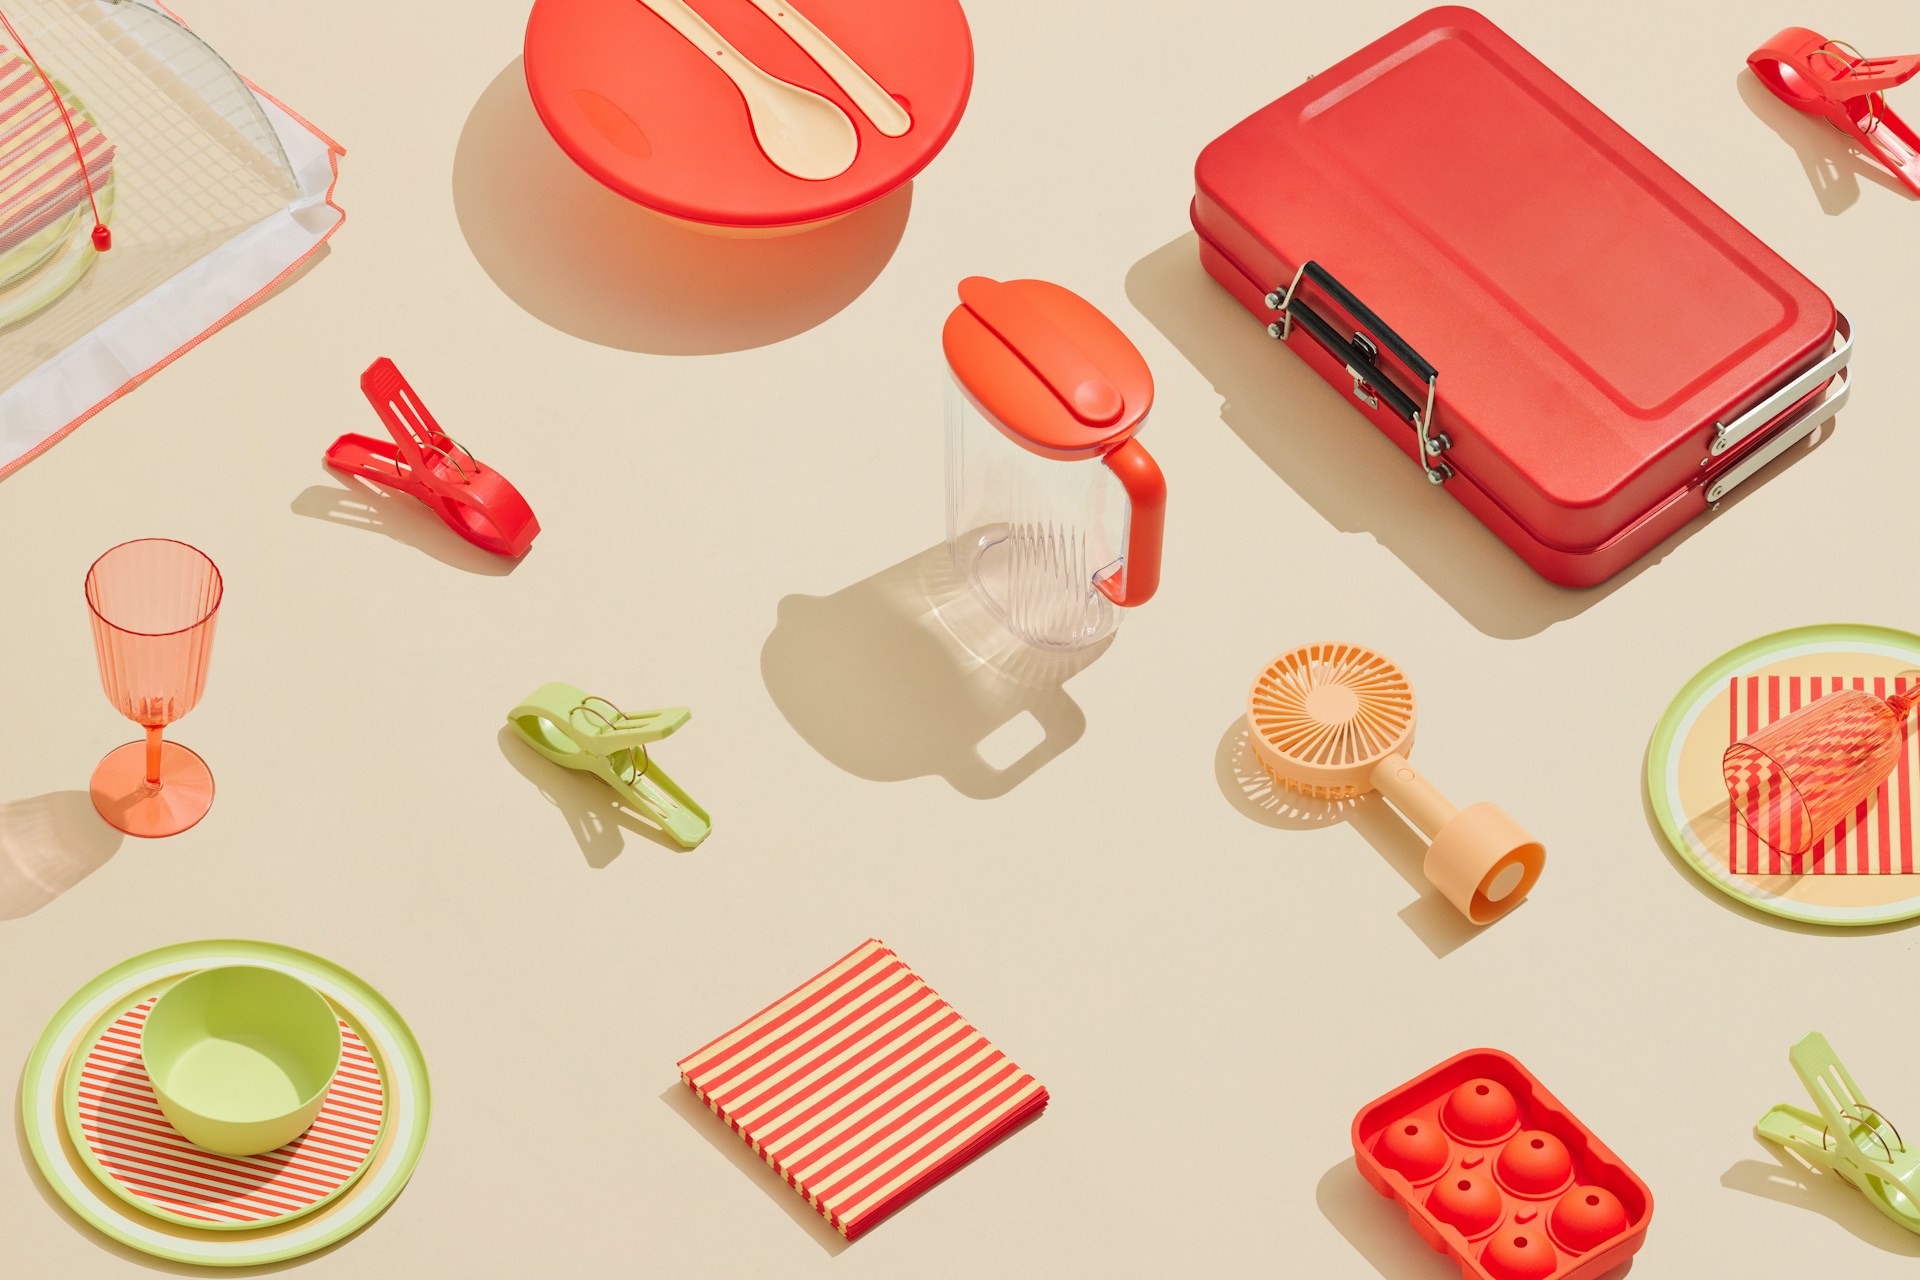
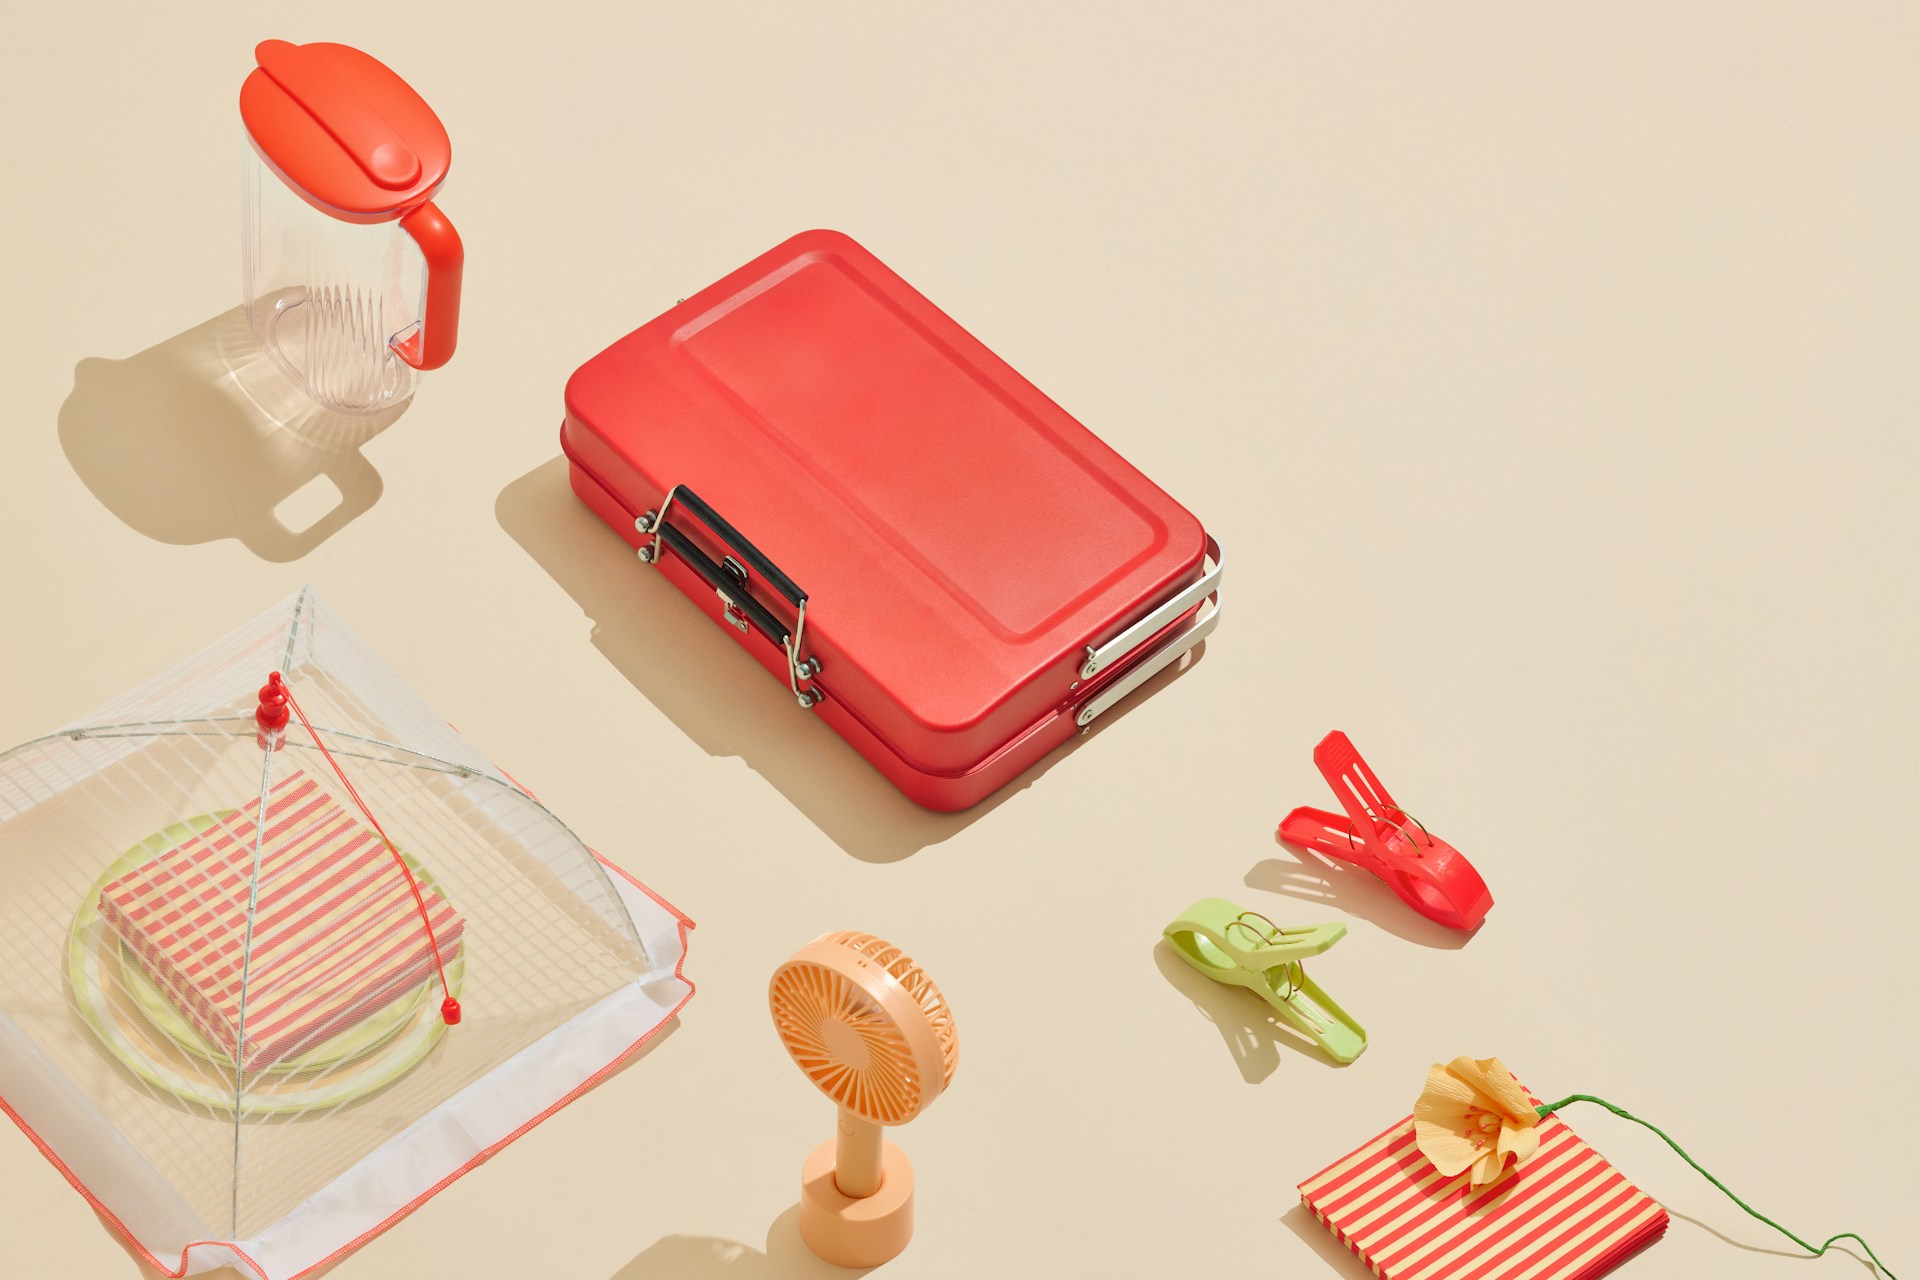
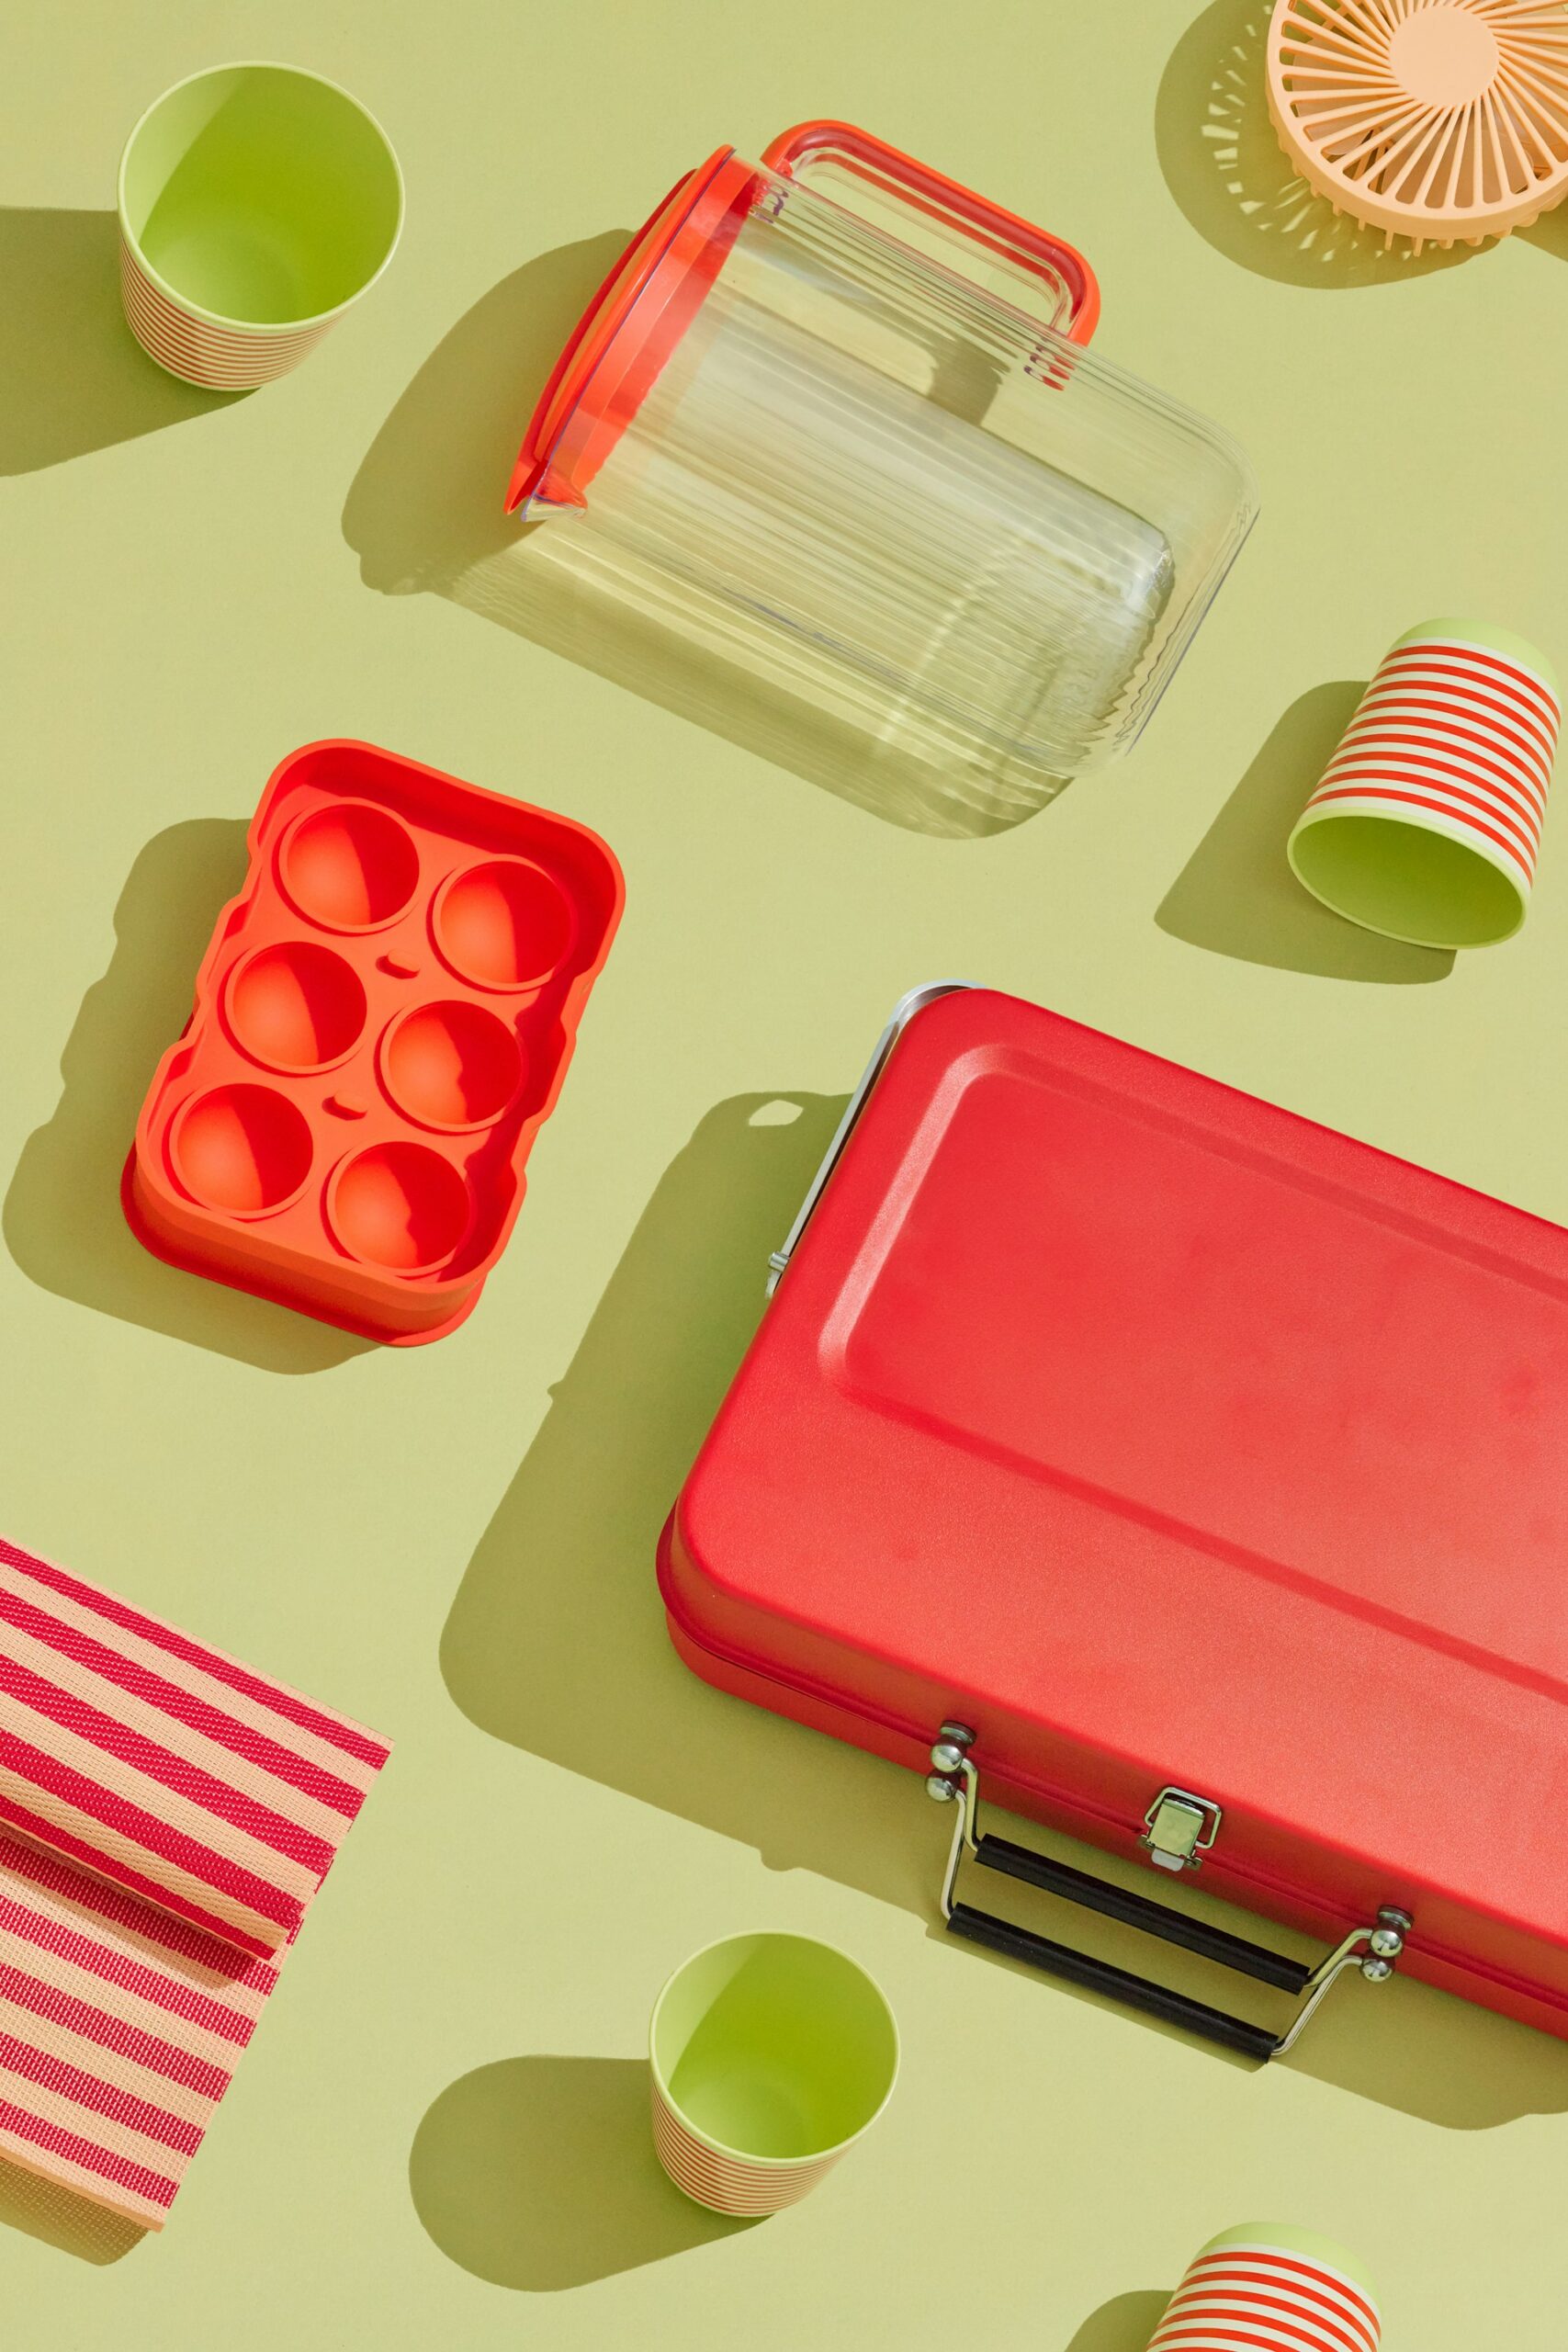
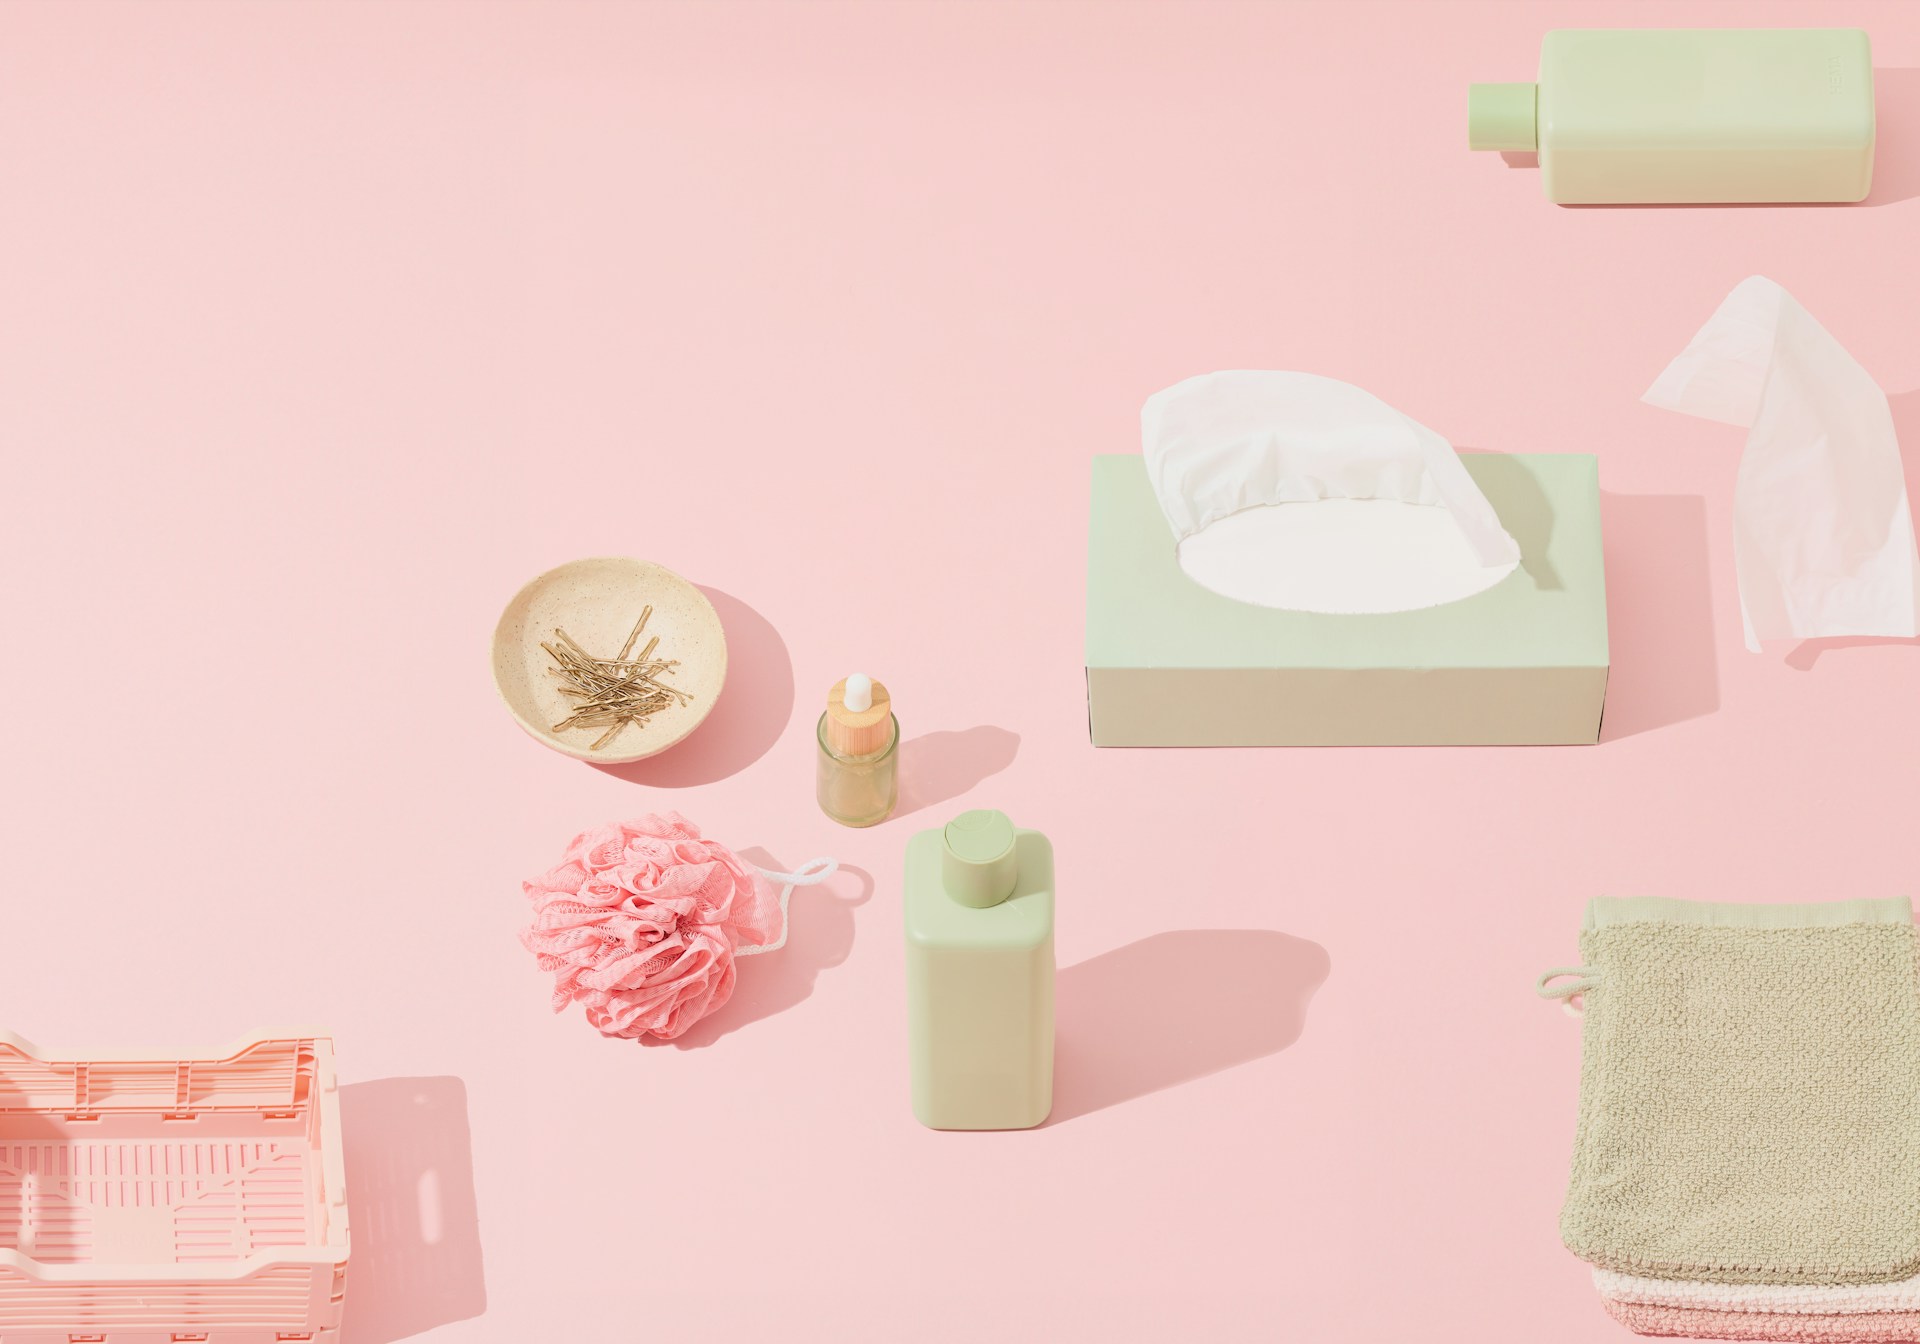
Each image took about 30 minutes to edit and mask properly, and I ended up creating around 14 composites in this style as part of a series.
At some point during the process, I realized: composite photography feels a little like cooking. It’s all about prep work, patience, and believing that all these ingredients will eventually taste good together.
Why Build a Composite Instead of Shooting Everything at Once?
- Depth of field issues
 - Limited working space
 - Shadow collisions
 - Compositional headaches
 - The inevitable “one object ruins everything” problem
 
With a composite, I had total creative freedom. I could scale objects, balance colors, and arrange everything in a perfectly clean layout. It let me focus on design after shooting —and honestly, that part was a lot of fun.


Leave a Reply